New Homeowners’ Guide To Pond Care
16th February 2022
Is Your Pond Ready For Spring?
4th March 2022
In the world of gardening, there has been a renewed interest in healthy wildlife and ecosystems that has replaced the focus on ordered lawns, started in part by a campaign by celebrity gardener Monty Don.
Rewilding, on a broad level, is the restoration of ecosystems and returning spaces to nature and nurturing them until the ecosystem can take care of itself.
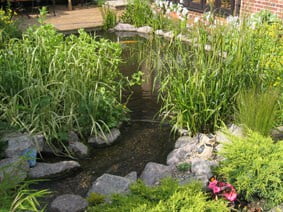
Whilst letting lawns grow and planting fruit and plants that attract wildlife is a key part of the rewilding process, building and nurturing a pond filled with fish, amphibians and water lilies is a great way to attract all kinds of life to your garden.
Here are some top tips to help you get started building a pond and getting back to nature.
Choose A Sun-Drenched Location
Whilst a pond can be built anywhere in your garden, the best locations are those which commonly catch the sun in the summer months, which are typically away from buildings, large fences and hedges.
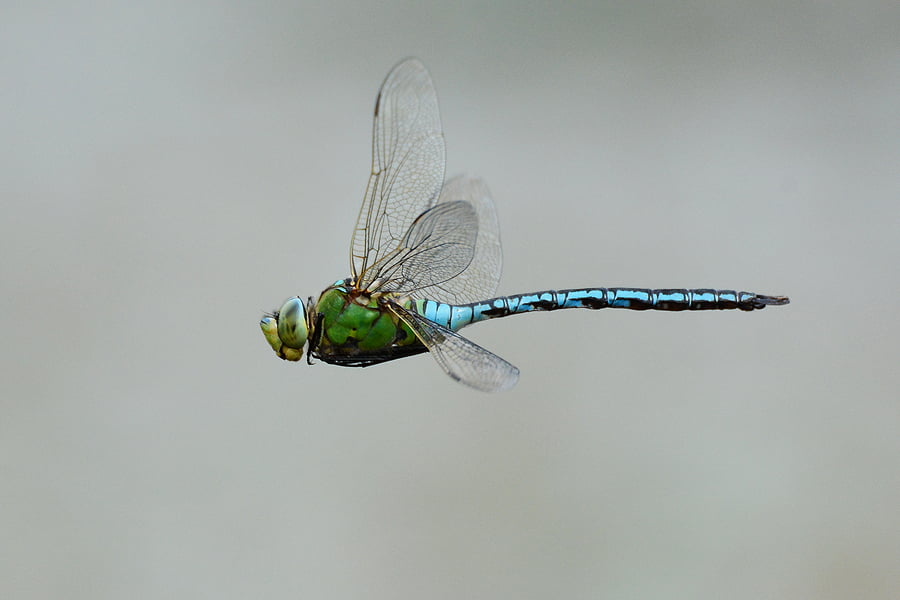
Plants love the warmer conditions, as do tadpoles and dragonflies, and as they flock to the pond other animals will too.
Once you have the place you want to build, create a marking with a length of rope or hosepipe secured to the ground and get ready to dig.
Dig a Level Hole
Start digging the hole that the pond will be placed in, using a spirit level to keep the sides level and ensuring there is a shallow, sloping ‘beach’ section so wildlife can easily get in and out of the pond.
Make sure you make ample provision for planting shelves with a minimum depth of 15cm for a small pond and ideally between 20-25cm. Also allow at least 20cm width of shelves for a small pond and 30cm or wider for larger ponds.
The deeper area of the pond should be at least 45cm deep but doesn’t really need to be more than 75cm otherwise you are just creating work for yourself!
Line The Bottom With Sand
Once you have finished digging, get rid of any sharp stones from the bottom of the hole and line with a layer of sand that is at least 5cm (2 inches) thick. Alternatively you could use some old carpet or special Geotextile liner designed for the job.
Fit The Pond Liner
Around the edge of the pond, dig a trench that can be used to drop the overhanging pond liner, before carefully putting it into the hole, tucking the excess into the trench and weighing the liner down with large rocks. Fill the hole with more sand to weigh it down.
The length of the liner should be equal to the length of the pond + 2 x the deepest part of the pond + an allowance for excess to drape into the trench. The width of the liner should be the width of the pond + 2 x the deepest part of the pond + an allowance for the trench.
Fill With Rainwater
Using either collected rainwater or tap water from a hose if you do not have a water butt or have not collected enough water, fill the pond up. This part may take a while and stretch the liner.
Backfill the trench with soil and place flagstones, turf or soil over the exposed liner at the edges, as this will protect your liner from sunlight, which can sometimes degrade the material.
If you are using tap water leave it to settle in the pond for a couple of days before adding plants or fish. This will allow any chlorine in the water to disperse.
Introduce Water Plants
Begin to introduce your pond plants, ensuring a good varied selection to cover the different categories of plants, so:
- Oxygenating plants that primarily grow under water or free-float beneath the surface
- Deep water and floating plants which will provide surface cover.
- Marginal plants for the pond shelves which primarily grow above the water or raft across it.
- Bog plants for any reliably damp areas surrounding the pond
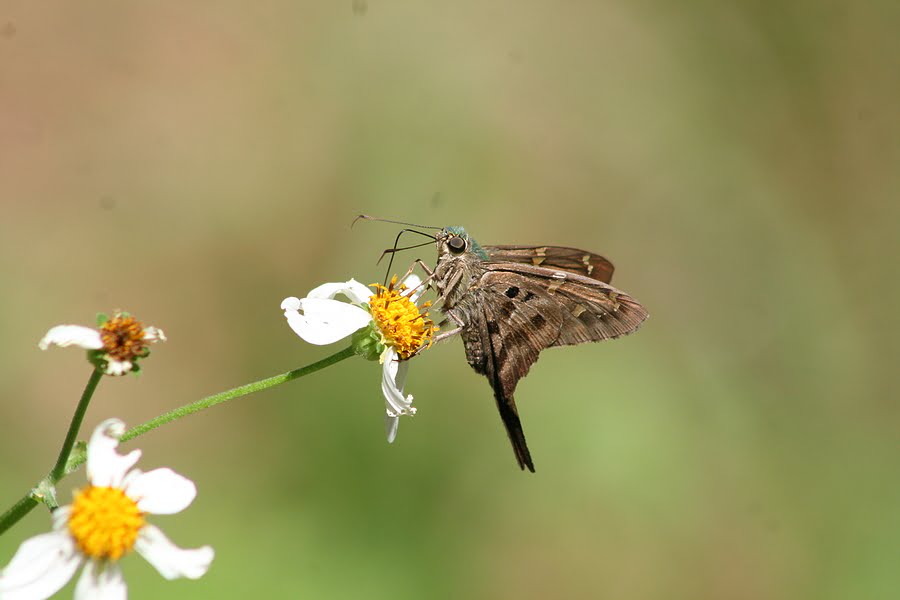
Ensure you choose plants that flower at different times of year to help support pollinators throughout the season and include some non-flowering grasses and rushes that will provide texture, height and habitat for wildlife.
Then sit back and watch as it begins to teem with life.